Tuesday, April 26, 2016

First Competition was a Bust :/

Week 10

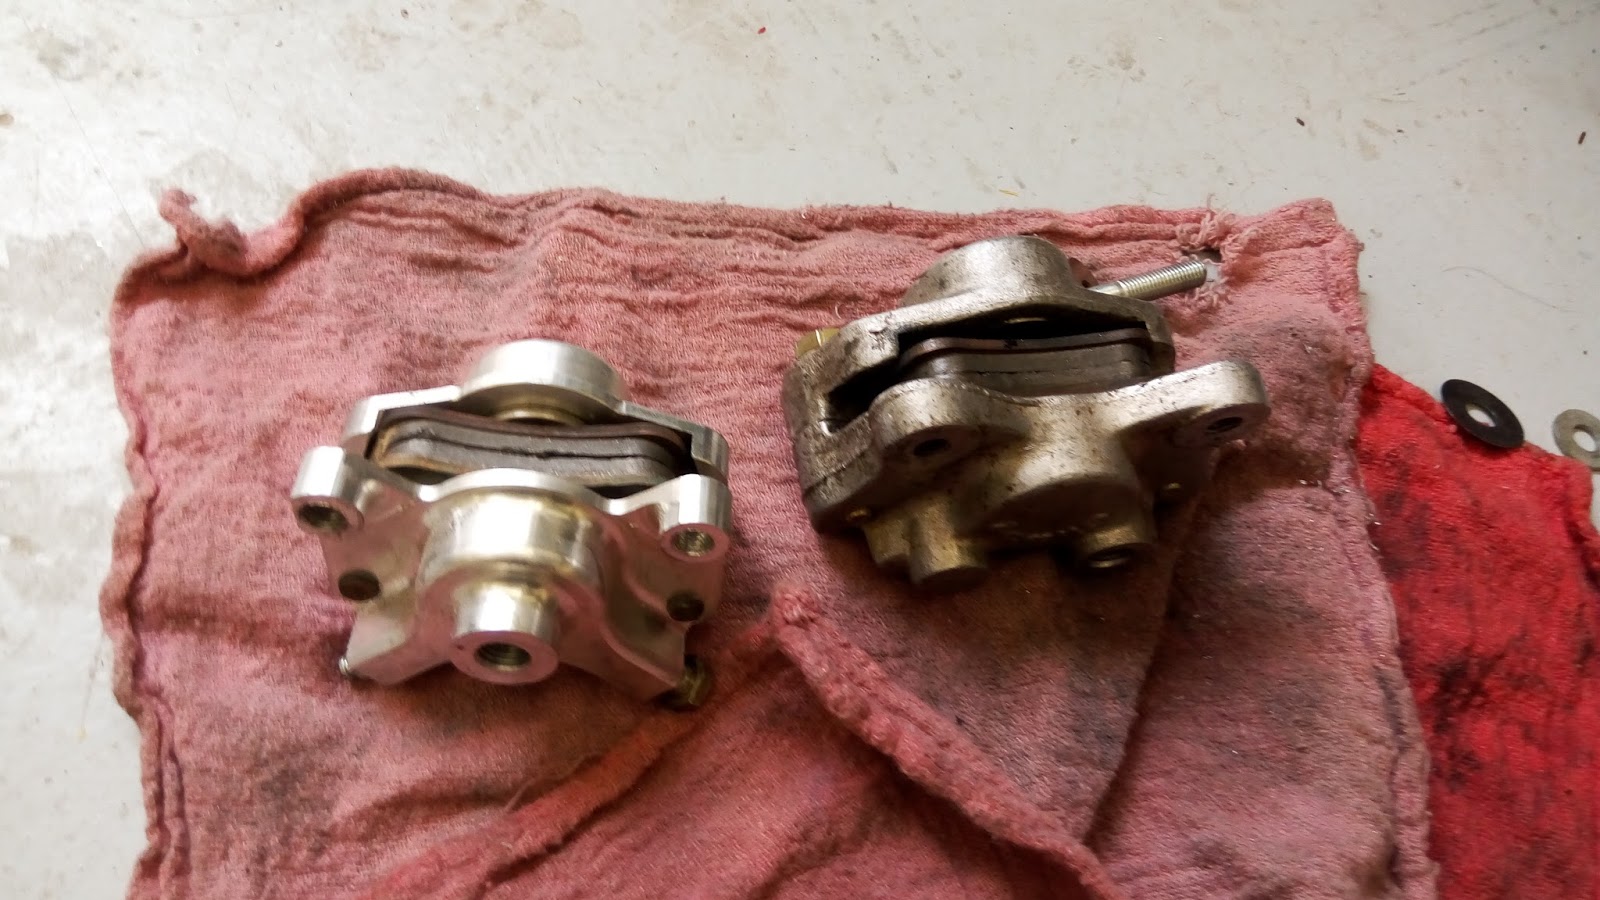
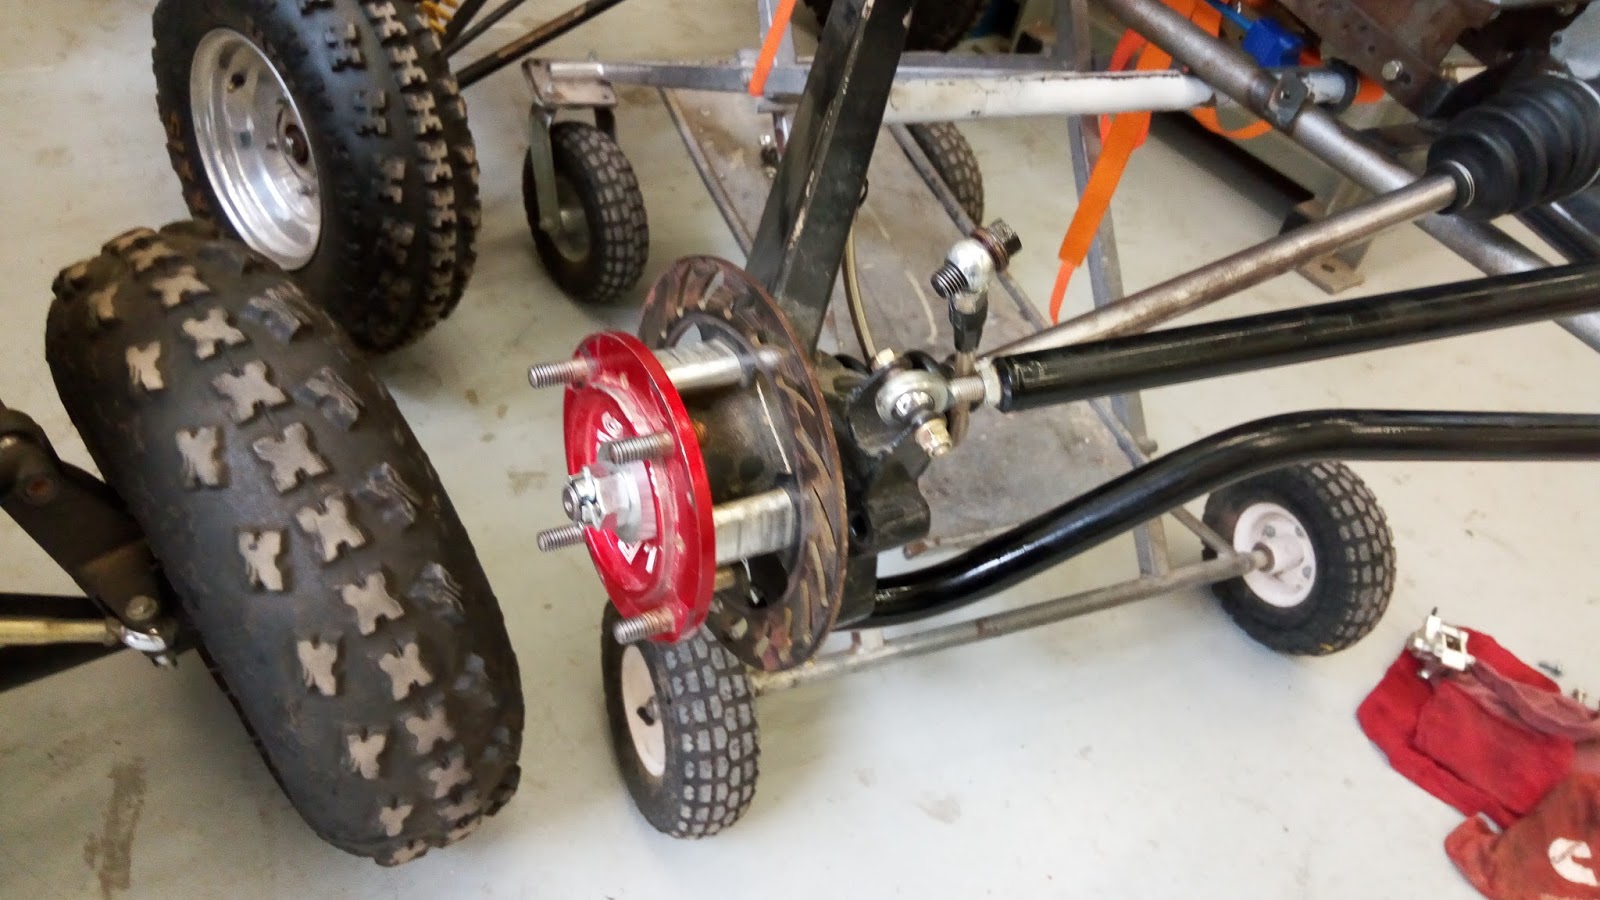
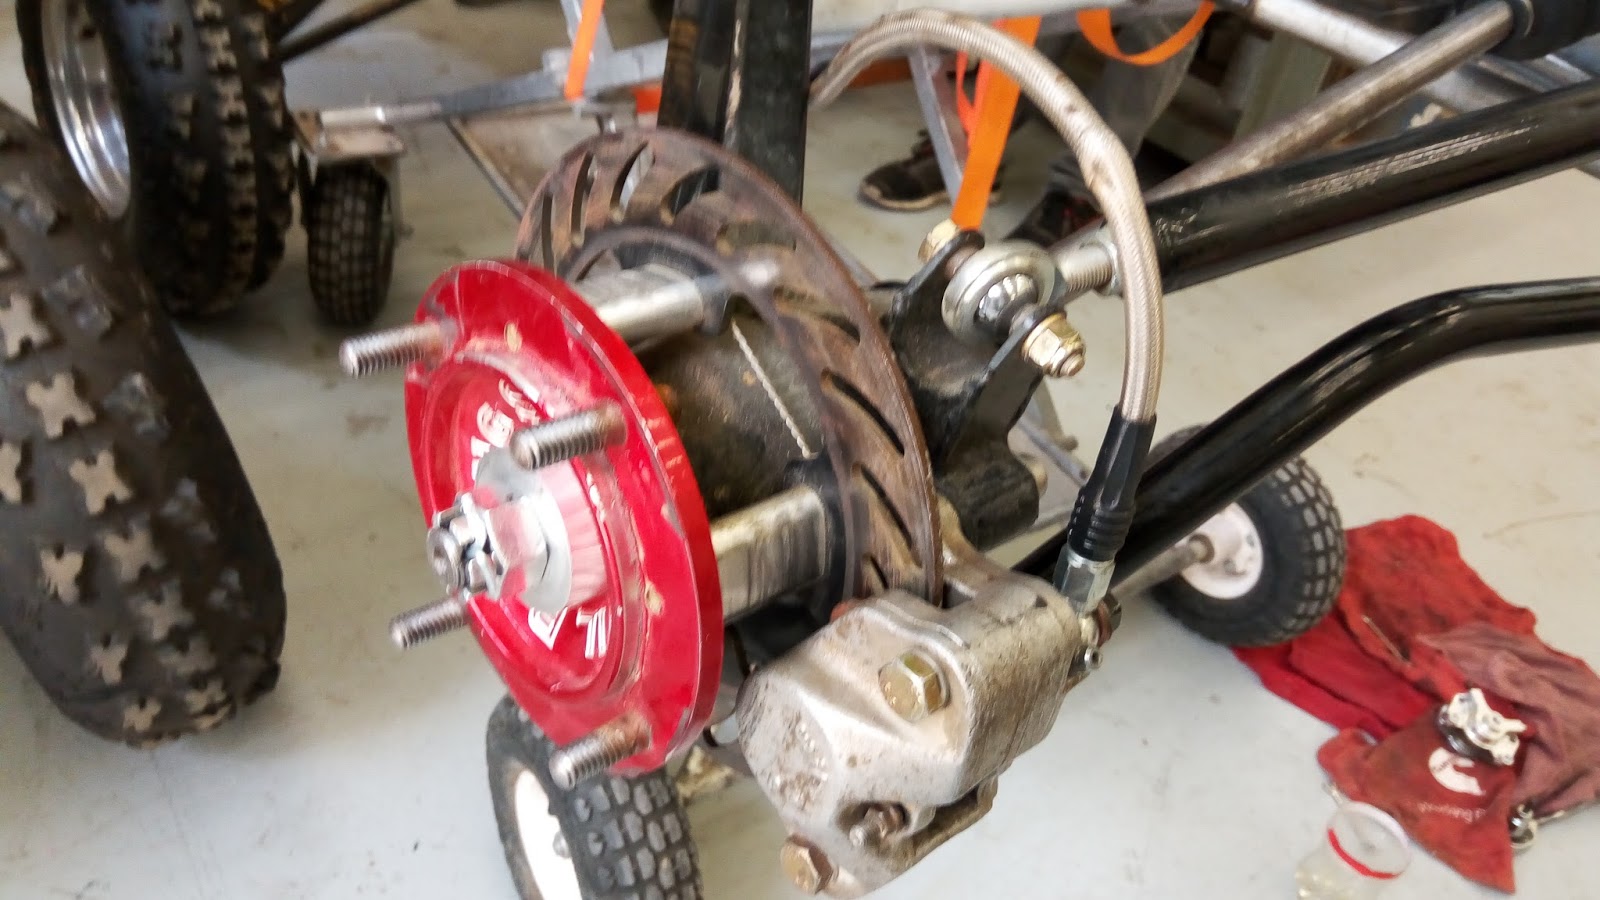
After coming back from the competition, Josh and Coleman informed me that the first competition in Tennessee was disappointing, as the brakes on the car failed to pass inspection, so the team couldn't participate in the five events.

However, the team did perform very well on the presentations to the judges, and can only improve from here. Hopefully, they'll perform better in the next two competitions in May and June.

Although it is disappointing to have no practical evidence from the actual endurance races, this senior research project was a new and exciting experience for me, and I'd like to thank everyone who made it possible.

Off to the First Competition!

Week 9

This week, we helped the team make finishing touches and pack all of the necessary equipment for the competition.

The car isn't the only thing that the team takes to the competition. They also pack extra parts in the case of an emergency, and pack parts from the old cars to demonstrate their tweaks in design from previous years.

What surprised me the most was that the team also packed broken parts that malfunctioned during the testing process. These parts are taken to describe the engineering and testing process to the judges and to explain considerations that the team had to make while building and modifying the car.

The Car is Gold!

Week 8

     Because of the impending competition next week, the team had a lot of work to do this week. First they sent out the finished chassis for a paint job.

Here's the chassis after the paint job:


     After the chassis got back, we had to install all of the other parts. Suspension parts had to be attached, the engine and the throttle cable had to be installed, and the transmission and seat had to be fitted. Jason taught me and Jared how to vinyl wrap the outer panels of the car using an alcoholic solution and a heat gun.

The task of finishing the car was tremendous, but somehow, we finished building the car by the end of the week.

Here's the final product:


The Car's Almost Done!

Week 7

     The outer body of the car was finished this week. There's only one week left until the first competition, so the team will have their work cut out for them next week. The testing of the practice car is almost done, and the problem with the toe links has been taken care of.

Here's a picture of the outer chassis of the final car:


Tuesday, April 12, 2016

Throttle Cables and Soldering!

Week 6

     This week, the Baja team was selling their oldest car. However, the car's throttle cable broke and the team didn't have a replacement, so we went to the bike shop to get a bike cable, which worked just the same.

     A throttle cable works by using mechanical impulses. One end of the throttle cable is connected to the gas pedal and is fed through sheathing to the engine, where it is connected to the throttle lever. A push of the gas pedal pulls on the cable, which in turn pulls on the lever and causes the engine to make the car accelerate.

     The old throttle cable had frayed ends, so Coleman taught me how to clean the ends using rosin soldering flux. The rosin flux is a kid of jelly that is applied to the cable and sticks to the residue on it. The soldering iron is then used to evaporate the jelly, which cleans the residue off of the cable. The solder (a metal with a lower melting point than the cable) is then melted onto the cable with the soldering iron and cooled to restrengthen the cable's ends.

This is the rosin soldering flux:


This is the soldering iron:


This is the solder metal that is melted onto the wires:


     The practice car is still being tested while the new chassis is being built. The tie rods and toe rods, which connect the steering system and the back of the chassis to their respective wheels, are the parts breaking most during the testing. The team is trying stronger metals for the rods, at the expense of extra weight, in order to prevent them from breaking during the actual competition.

Testing the Car!

Week 5

     Having finished building the practice car over spring break, the team moved on to testing the car for any flaws out in the open. On Tuesday, the team conducted two test runs and repaired the car after each one. Unfortunately, I cannot post any footage of the practice car or the building of the new car, as the team will properly unveil the car in mid-April. However, I did observe during the second test run that every small detail of the car matters. In that case, one small piece of the car that was loose-fitting instead of tight-fitting caused the front left tire to lose alignment. In order for the car to perform well in the races, every small flaw has to be ironed out before April 14, which calls for extensive endurance testing.

     I also worked with the machines in the C & C lab for the first time this week. The machines in the lab can be programmed to take a raw material and fashion a part out of it. For example, the automatic lathe machine...
...can be used to create parts out of cylindrical rods to create parts of a cylindrical nature, like these high misalignment spacers that we were making...
...out of this rod of raw material.


Although the machines are always run with a closed door and coolant splashing after almost every step, Josh ran it at a lower speed so I could capture the work of the machine on the rod. Here's a video of some of its steps:


The raw material used for these spacers is made of a material that is technically stronger than last year's material, but weighs less. Each spacer now weighs 1.67 grams, as compared to last year's 3.33 grams. Although the change in material doesn't decrease the weight of each spacer by much, the combined result of all 32 spacers on the car help the team reach it's goal to reduce the weight of the car, as a reduction in weight will allow for a better performance in the acceleration test.

Thursday, March 17, 2016

Sorry about the late posts :/

Hey everyone,

Sorry about the late posts, I got a bit caught up working the SRP and not posting about it.

I'll make sure to be posting regularly every Saturday evening or Sunday morning from now on.

Brake Fluids & Transmission!

Week 4

     This week, we replaced the brakes on the old practice car from last year.

This is a picture of the unattached brake. The to flaps in the middle are the brake pads, which help stop the wheel when the brakes are applied.


This is the wheel that the brake attaches to. It slows the tires when the brakes are applied.


This is the proper position of the brake pad on the wheel.


After replacing the brakes, we had to bleed the brake fluid in order to get rid of the air bubbles. One person opens the bleed valve while the other applies the brakes, and when a continuous stream of brake fluid spills out, the brake lines are free of air bubbles. This allows the brakes to smoothly and efficiently stop the car.

The reason that we were working on the old practice car was that a supplier of transmissions wanted to make them for Baja cars but didn't have a Baja car to test them on. The team gave them the old practice car in exchange for continuous variable transmissions for their Baja cars for life. Continuous variable transmissions (CVTs) are automatic transmissions that can change between a continuous range of gear ratios. They are very expensive, so this was a good deal for the Baja team.

Sandblasting, sandblasting, and more sandblasting!

Week 3

     On Tuesday of this week, we built tie rods to connect the steering shaft of the car to the front wheels. We started off by building a fixture to hold the parts together, and then we cut a thin tube and coped the end of it so that the welder could weld the parts together. The tie rods tie together the steering system and the suspension system, both of which are part of the power train of the car.

     On Saturday, I sandblasted many of the small parts of the car with rust on them. The sandblaster sprays a specialized sand at a high velocity at the metal parts, removing the rust and smudges from the parts. Without the rust, the parts can be safely welded together, as the rust on the parts can adversely affect the weld quality.

Here's a video of the sandblasting machine:


It's not easy to see in the video, but the sandblasting gun that I'm holding sprays out the sand at a high velocity, stripping the piece of metal of its rust. The trigger for the gun is a foot pedal below the machine and the sound you hear is the sand coming out of it. In order to operate the machine, I have to use the gloves inbuilt in it, because the abrasive can cause injury if it hits bare skin.

Night of the Open Door!

Week 2

     The main event this week was the night of the open door on Friday the 19th, a night when all of the lab facilities are open so that the public can come and see the work being done by clubs on campus. As such, the week's work until Friday was preparing the lab facility for the night of the open door event.

     On Friday, we helped set up the lab for the night of the open door. During the event, 
parents, children, students, and the dean came to learn about the Baja project.

Here's a video of Josh, the chief engineer, driving last year's Baja car:


As you can see, the suspension and the shock absorbers allow the car to be driven over the smooth rocks with relative ease. This is an essential part of the building of a Baja car for endurance races.

     On Saturday, we got back to work. We started by building the bumper for the car. We used the tube bender to create the shape of the bumper. Then we used the coping machine to cope the end of the tube, making it fit in place with the frame of the car. The welder then welded the bumper onto the front face of the car.

Here's a video of the coping machine (brace your ears):


Coping tubes leave their ends like this, allowing them to be fitted onto other tubes and welded easily.


After we built the bender, we used the sandblasting machine for the first time to remove the rust off small parts of the car.

Before Sandblasting:


After Sandblasting:


I'll explain more about the sandblaster next week.

Wednesday, February 17, 2016

First Week of Work!

Week 1

     On the first Monday after school ended, we went over to the Simulator Building at the ASU Polytechnic campus to meet with Mr. Contes and figure out our work schedules. We didn't do any work on the Baja car on that day, but we learned that the car's frame was already done and that the team planned on having a working car by Friday the 19th.

     On Tuesday, I met with the team for the first time and we went over the work that we had planned out for that week. After the meeting, I worked with Louie to cut tubes with the DoAll Band Saw to 15" and 15.5". After that, I met with Josh Patton, the chief engineer of the Baja team, and we discussed SolidWorks, the program that the team used to design every aspect of the car. I learned the use of toe, camber, and caster in the alignment of the wheels, and found out that the team was planning to use a 5-link system between the frame and the wheels to improve on the 3-link one they used last year. I then worked with Zach Yeskey to build a fixture on the milling machine out of aluminum. He taught me how to use calipers to measure distances down to thousandths of an inch, and we built a fixture to hold parts as we put together the arms between the frame and wheels of the car.

Here's a picture of the band saw:

     On my final work day this week, Saturday, we used the lathe machines for the first time to make bushings for the car. The material we used was an industrial plastic that the team used last year. However, we only used it for practice, as the material absorbs moisture and ends up breaking the link arms.

Here's a picture of the lathe machine: